Image Manipulation in Python
Discovering PIL
Loading an image
from PIL import Image

image = "feudartifice.jpg"

im = Image.open(image)

print("Here are the image properties:", im.format, im.size, im.mode)
What do the three values that are displayed mean?
Image pixels
reading a pixel
You can display the (R,G,B) components of a pixel using the getpixel((x,y)) function. Watch out for the double parentheses!x and y represent the horizontal and vertical positions of the pixel in the image, knowing that the origin (0,0) corresponds to the upper left corner.
For example:
from PIL import Image

image = "feudartifice.jpg"

im = Image.open(image)

print("Here are the image properties:", im.format, im.size, im.mode)

print(im.getpixel((92,15)))
print(im.getpixel((600,600)))
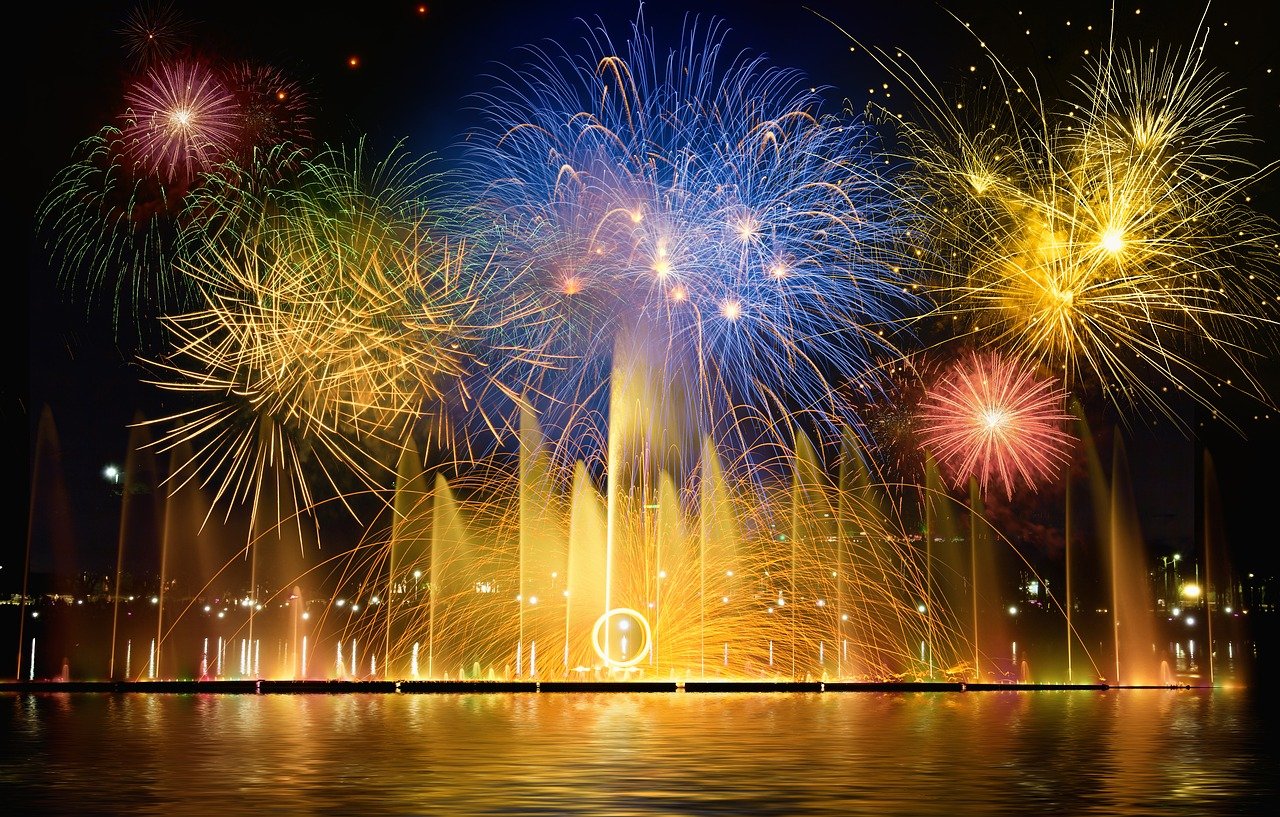
Here are the image properties: JPEG (1280, 817) RGB
(8, 4, 3)
(255, 219, 111)
modifying a pixel
You can also modify a pixel using the putpixel((x,y), (r, g, b)) function.
For example, the command im.putpixel((84, 42), (0,0,0)) will modify the color of the pixel at coordinates (84,42). Its new color will be (0,0,0), which is black.
Modifying an image
We will transform the fireworks image into grayscale (black and white). We saw previously that black is coded in RGB as (0,0,0) and white is coded as (255, 255, 255). We can add important information for what follows: all shades of gray are composed of the same value for R, G and B.
Copy the following code in place of the previous one.
from PIL import Image

image = "feudartifice.jpg"
im = Image.open(image)

(l,h) = im.size #we have the width in l and the height in h

#now, we create a new image with the same dimensions
image_nb = Image.new('RGB', (l,h))


for i in range(500):
    for j in range(300):
        (r,g,b) = im.getpixel((i,j))
        moy = round(255)
        image_nb.putpixel((i,j), (moy,moy,moy))

image_nb.save("image_nb.jpg")
Let's modify this code together to get what we want!